Understanding Cedral Lap Cladding
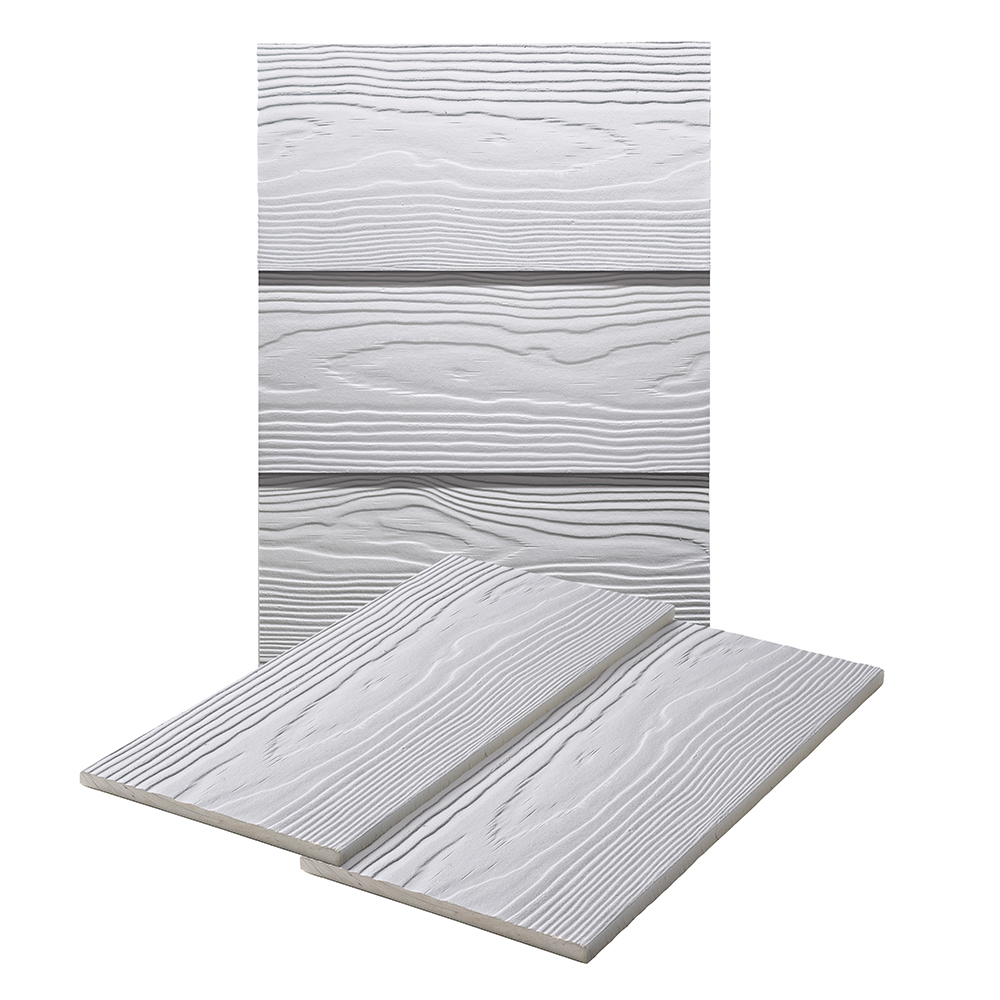
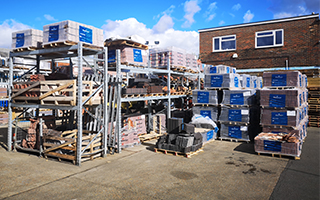
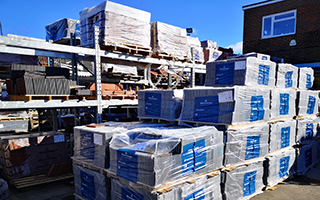
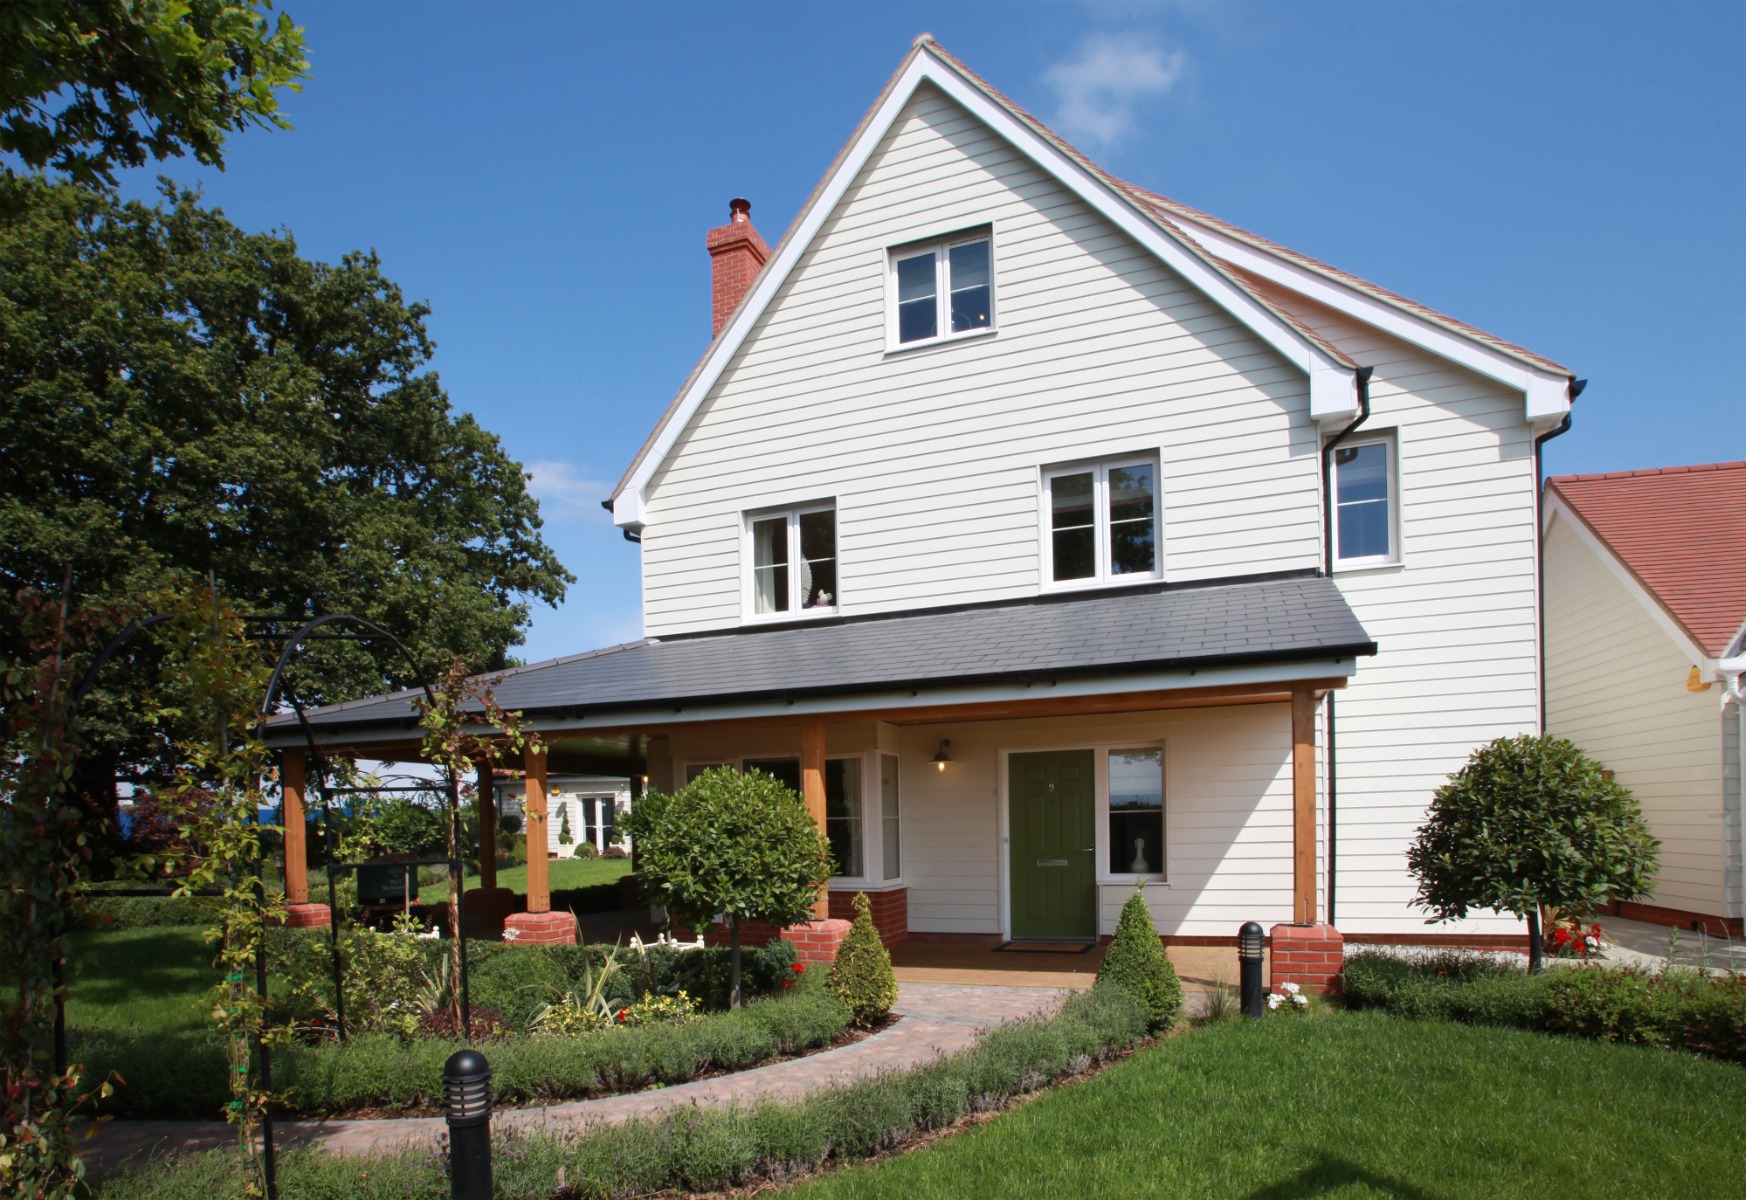
About Roofing recently began to stock Cedral Lap Cladding at our Redhill Branch. The Cedral system is a very popular cladding system that offers an aesthetic look and long lasting protection.
The system comes with a range of different trims, which can be daunting for DIYers and/or first time installers. Here we are aiming to make that experience less stressful and easier for all.
Cedral Cladding is a system that requires instructions/installation to be followed by the book and not doing so can lead to faulty products and can damage the aesthetics of the product, so it is important to really understand how the product works before you begin to install it.
Installing Cedral Lap Cladding
First of all, you’ll want to ensure you have used 38x50 battens horizontally, spaced at 600mm. Make sure there is a 150mm gap between the ground and the bottom course of cladding.
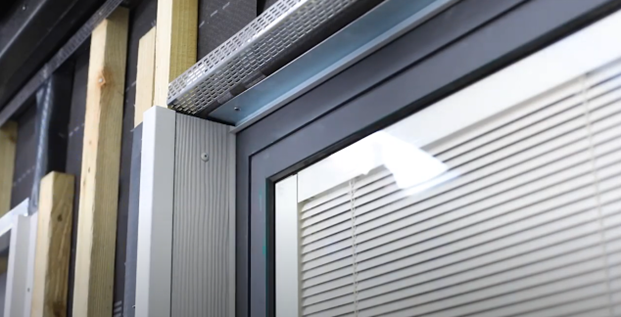
Before you install any trims, you’ll need to make sure you install the perforated trim at the top and bottom coarse. This will allow for an airflow behind the cladding, helping it dry when and protecting the cladding from any damage. This is a really important step and shouldn't be overlooked. If there are any windows, you need to install the perforated trim under the window sill and above the window head, likewise at the top of a door, should one be present.
Install any symmetrical, asymmetrical and Internal corners trims that are needed, prior to installing any boards. Install the start profile at the lowest course, this kicks the boards out and allows the boards to lap over.
Cedral Lap Cladding boards are supplied in 3.6m lengths. These need to be screwed at battens (600mm). Install the first board over the start profile trim, allowing the board to kick out slightly.
When fixing the boards, make sure the fixing is installed every 600mm and there is a gap of 20mm from the top of the board to the fixing. Then overlap the board above by 30mm and continue until you reach the top course.
If the area you are cladding is longer than 3.6m, cut down the next board to fit the remaining gap. When you have joined 2 boards together, make sure you install a waterproof strip to protect the battens. Use the remainder of that board on the next course to give a staggered bond effect.
We stock and supply touch up paint, to colour any boards that have been cut, as well as painted screws, so your fixing blends in nicely with the board.
Installing around a window
When installing around a window sill, make sure there is a 10mm gap between the perforated trim and the window sill. You may need to cut the board to size in order for it to fit. The same as before, make sure the board is screwed every 600mm. The window sill must overhang the Cedral board by 40mm.
At the side, install a connection trim on the internal corner of the window. This stops the cedral board falling. Install a cedral lap board between the asymmetrical corner and the connection profile and screw.
At the window head, install a connection profile horizontally as shown below, this again will keep the board in place. Cut your Cedral board to size and ensure that 20mm of the perforated trim is still showing.
Depending on the size of the window, you may need to install another start profile above the window head. Cut the board to size and fix. Ensure that the air gap remains for the ventilation.
Pricing & availability
To discuss pricing and the availability of Cedral Cladding, please call us on 01737 763008 or email us here.
Where can I find roofing materials near me?
You can view and order roofing products in any of our branches listed below or we can deliver nationwide:
